What You Need to Build Your Guitar Hook
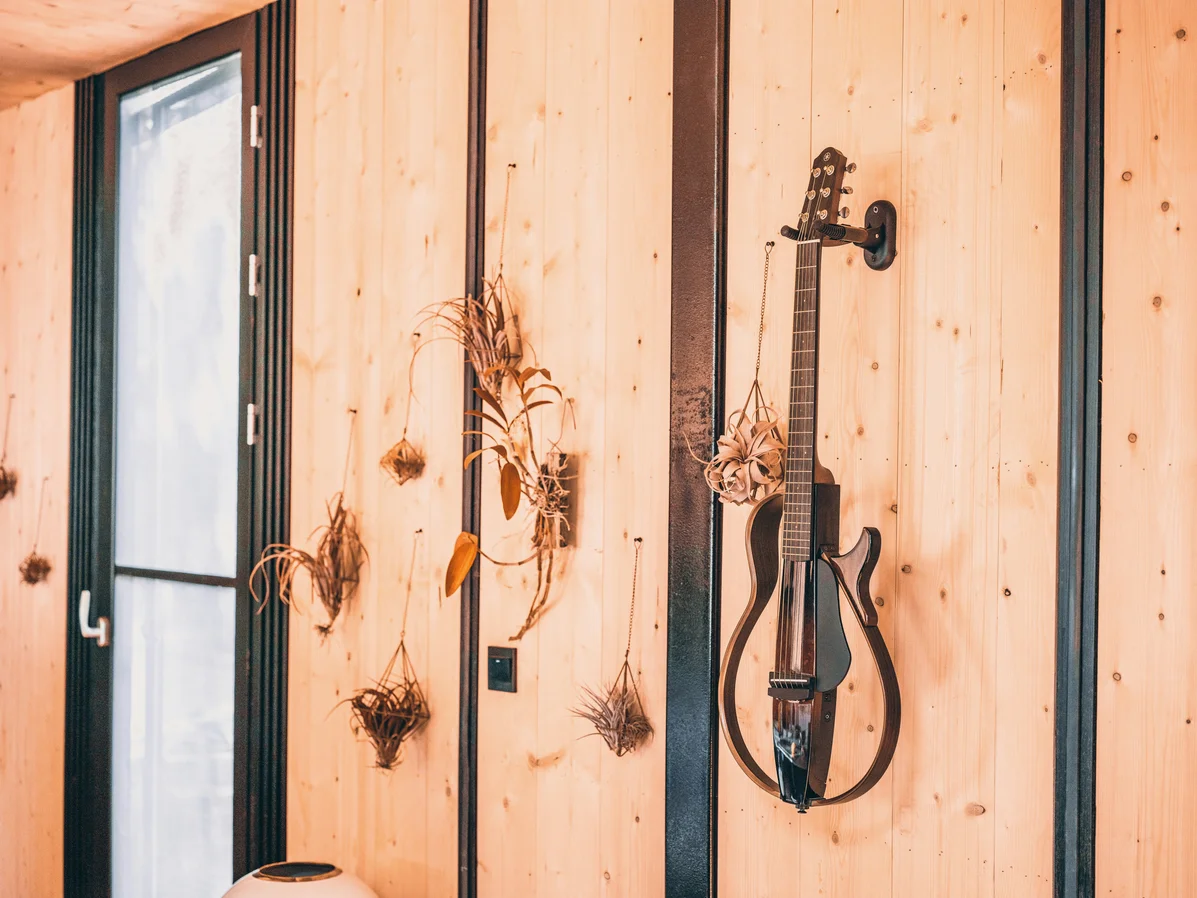
To begin your guitar wall hook DIY, gather the necessary materials and tools. You'll need two types of wood: walnut and maple work well together for a nice contrast. Aim for two pieces of 2x2x2' walnut and one piece of 2x2x2' maple. Other materials include 1/4” dowels, screws, wood glue, and assorted sandpaper. A drill, saw, clamps, and a sander are also essential tools for this project. Before you begin, ensure that your workspace is clean and organized. This makes the process smoother and helps you keep track of all your materials. Using offcuts saves money and promotes sustainability in woodworking. You can significantly reduce waste by utilizing what you already have. Once you have everything ready, it's time to get started. This guitar wall hook is functional and adds a decorative touch to your space. It serves as a reminder to pick up your guitar and play, enhancing your musical journey.Step-by-Step Guide to Making the Guitar Hook
- Gather materials: Collect all necessary wood pieces and tools, including walnut and maple, within 30 minutes.
- Glue wood pieces: Cut two pieces of walnut and one of maple to 18 inches each, then glue them into a panel. Allow this to dry overnight.
- Cut sections: Shape the glued panel into three parts: a top section (5-1/4 inches), a middle section (6 inches), and a bottom section (5-1/4 inches) in about 45 minutes.
- Drill holes: Using a drill press, make holes in the top and bottom sections for the guitar neck. This should take around 20 minutes.
- Assemble the hook: Use dowel centers and glue to connect all sections, ensuring they align properly. This part takes about an hour.
- Smooth edges: Sand the edges and surfaces of your guitar hook to ensure it has a polished finish. Spend about 30 minutes on this step.
Tips for Using Offcuts Effectively
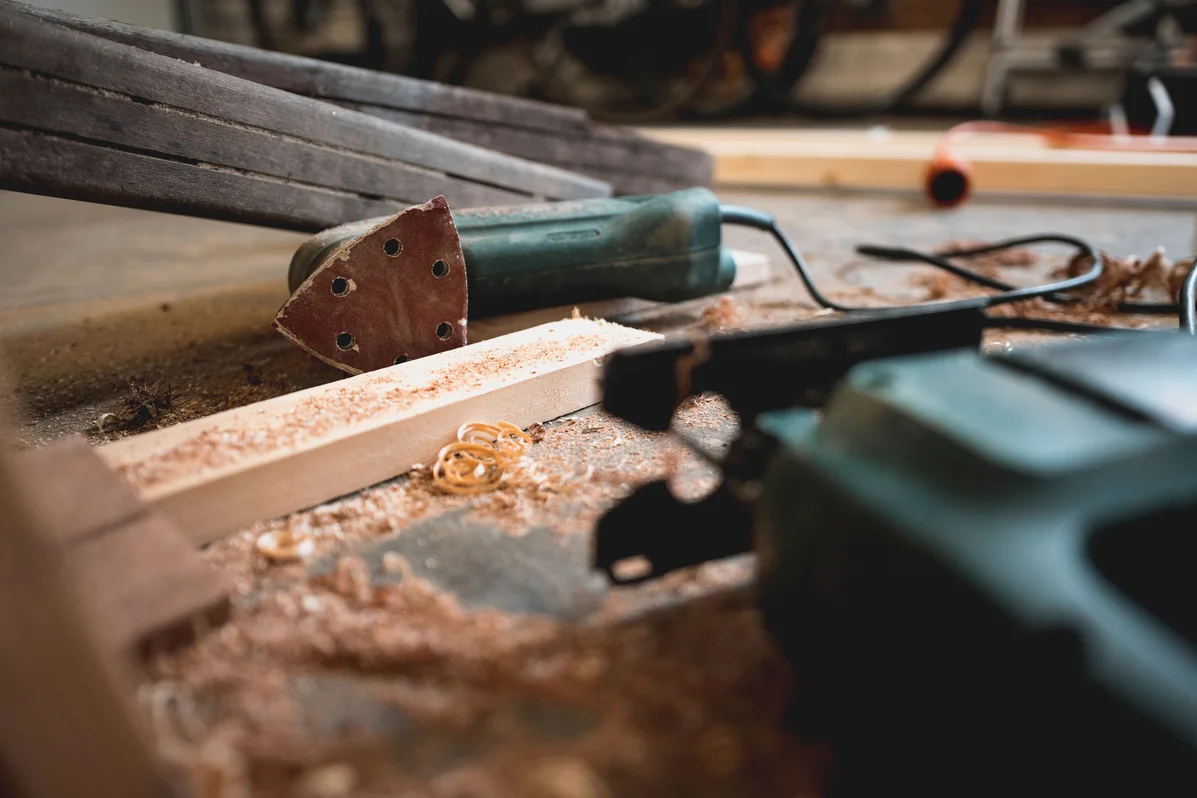
Using offcuts is a smart way to save money and reduce waste in your projects. Many DIYers overlook the potential of small scrap pieces, but they can be incredibly useful. You might be surprised at how much you can create from leftover wood. For instance, in this project, offcuts transform into a beautiful guitar wall hook, showcasing your skills and creativity. Pro Tip: Using offcuts for projects can reduce material waste by up to 30%, promoting sustainable practices in woodworking. Consider the size and type of offcuts you have. Different wood species can create unique designs when combined. For example, walnut and maple differ in color and grain pattern, making your hook visually appealing. Experimenting with various combinations can lead to stunning results. Lastly, always think about future projects when dealing with offcuts. Store them neatly, and label them if necessary. This makes it easier to find what you need for your next DIY project, saving time and effort.Why a Guitar Hook Improves Home Organization
A well-organized home can greatly enhance your daily life, and a guitar wall hook is an excellent addition. By keeping your guitar visible and accessible, you encourage more frequent play. This simple change can lead to better practice habits and improved skills over time. Many musicians find that having their instruments out motivates them to play more. In fact, those who store their guitars properly are more likely to use them (National Guitar Association, 2026). A dedicated space for your guitar keeps it safe and shows your commitment to your craft. A guitar hook frees up closet space, allowing you to store other items more efficiently. Improper storage often leads to damage or neglect, but a wall hook keeps your instrument in prime condition. This small adjustment can significantly impact your living space and your musical experience.
Finishing Touches for Your Guitar Hook
Once your guitar hook is assembled, it’s time for the finishing touches. Sand the entire surface to ensure it's smooth. Use fine-grit sandpaper to remove any rough edges, making the hook safe to use. A well-finished product looks better and lasts longer. Next, apply a coat of walnut oil to enhance the wood's natural beauty. This treatment brings out the grain and adds a protective layer. Allow the oil to soak in before buffing it with a soft cloth. This step can take about an hour, but it’s worth the effort for a quality finish. Consider adding a decorative element, like a personalized engraving or a unique design. This makes your guitar hook memorable and adds a personal touch. If you’re feeling adventurous, you could even paint or stain the wood to match your home decor. Lastly, install the hook securely on your wall. Use drywall anchors for added strength, ensuring it can hold the weight of your guitar. This final step is key for safety and functionality, so take your time to do it right.Frequently Asked Questions
How long does it take to build a guitar wall hook?
Building a guitar wall hook takes about two days. This timeframe allows for drying and assembly time. According to Family Handyman, this is a beginner project. Beginners may take longer due to learning curves. This applies to anyone new to woodworking. Start your project over the weekend to finish in two days.
What tools do I need for building a guitar hook?
You need basic woodworking tools to build a guitar hook. Essential tools include a drill, saw, and clamps. Family Handyman lists these as necessary for beginners. These tools help ensure precise cuts and strong joints. This information is useful for first-time DIYers. Gather your tools beforehand to streamline your project.
Can I use any type of wood for a guitar wall hook?
You can use various types of wood for a guitar wall hook. However, hardwoods like walnut and maple are best for durability. Family Handyman recommends these woods for their strength. Hardwoods hold weight well and resist warping over time. This is particularly important for hanging instruments. Choose hardwoods for a long-lasting project.
Why is a guitar wall hook beneficial for musicians?
A guitar wall hook makes instruments easily accessible for musicians. This encourages more frequent playing and practice sessions. The National Guitar Association states that proper storage improves usage. Keeping guitars visible reminds players to pick them up and play. This applies to musicians of all levels. Install a hook to enhance your playing habits.
What are some tips for using wood offcuts effectively?
Using wood offcuts effectively can maximize your resources. Many DIYers underestimate the potential of small pieces. According to Home Improvement Research, DIY projects are increasing by 25% annually. Repurposing offcuts promotes creativity and reduces waste. This is particularly relevant for budget-conscious crafters. Always keep your offcuts organized for future projects.
Related Analysis
16 Creative Ways to Reuse Old Bread Pans Instead of...
Instead of discarding old bread pans, discover 16 creative ways to repurpose them into charming...
Build Your Own DIY Toilet Paper Holder with Scrap Wood
Transform scrap wood into a stylish and functional toilet paper holder. This DIY project is...
9 Creative Uses for Tweezers You Didn't Know About
Tweezers are more than just a beauty tool. Discover 9 ingenious ways to use them in cooking,...