
1. Gather Your Tools for Tint Removal
Before beginning, gather the right tools and materials. You'll need a heat gun, a razor blade scraper, and pliers. These tools help you effectively peel off the tint without damaging the glass. A flashlight will also be handy to see the edges of the tint clearly. In addition to tools, gather cleaning supplies. A microfiber towel, window cleaner (like soap and water), and a non-scratch scoring pad will help you finish the job. Having everything ready will make the process smoother. This preparation is key for successful tint removal. Remember, you can complete this project for about $10 to $40, making it budget-friendly. With the right setup, you'll be able to remove tint from car windows effortlessly. You can also use this time to consider other DIY projects like cleaning your car's interior or fixing minor dents.2. How to Heat the Tint for Easy Removal
Heating the tint is key to a successful removal process. When you warm the film, it softens the adhesive underneath, making it easier to peel off. Roll down the window about a third of the way to expose the top edge of the tint. Using your heat gun, aim it at a small area at the top. Apply heat for a few seconds, then remove the heat source. You may need to keep applying heat throughout the removal process. The goal is to keep the adhesive soft and workable, so be patient and thorough. Pro Tip: Using a heat gun to warm the tint can reduce removal time by up to 50%, according to Family Handyman. If you notice any resistance while peeling, apply more heat. This step prevents the tint from tearing into small pieces, which can be frustrating. A consistent application of heat will help you work efficiently and effectively.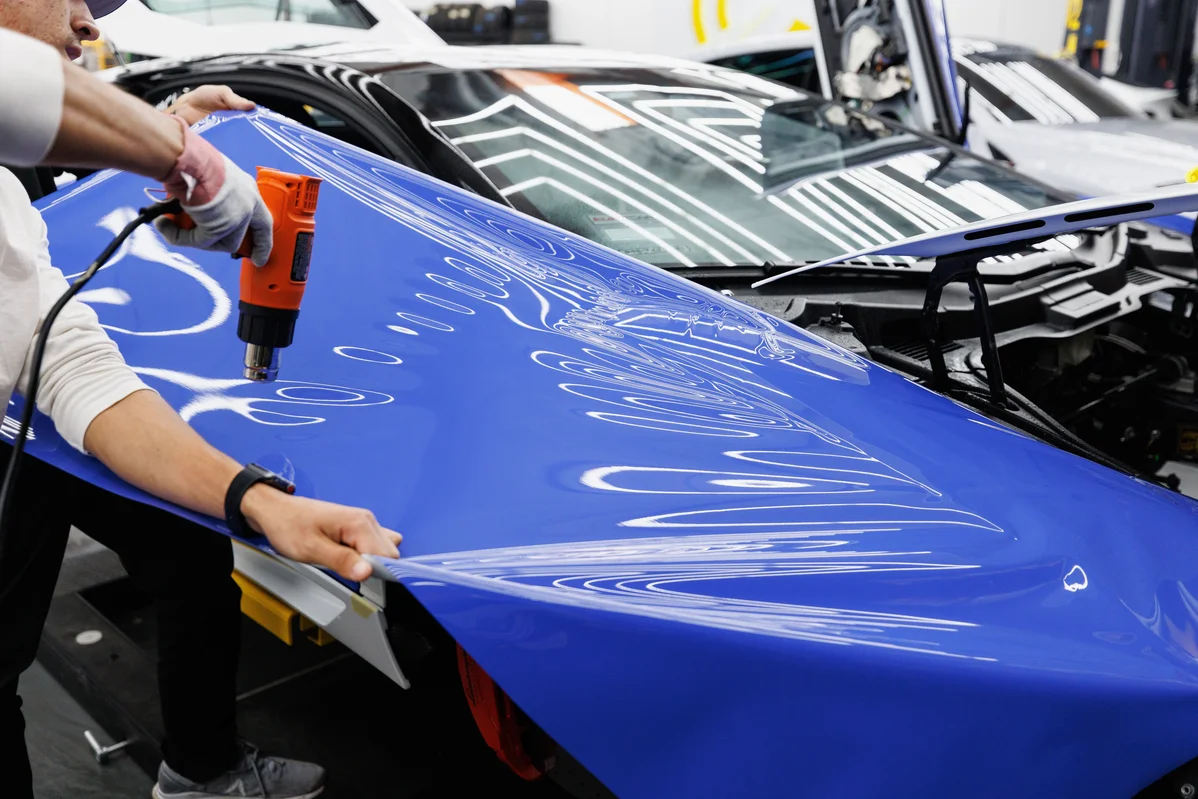
3. Peeling the Film: Step-by-Step Process
- Lift the corner: Use your fingers or a utility knife to lift a corner of the heated tint. This should take about 1-2 minutes.
- Peel slowly: Gradually pull the tint away from the glass, moving across the top. This process should take around 5 minutes.
- Apply more heat: If you feel resistance, reheat the area as needed. This ensures a clean pull without tearing.
- Roll up the window: Once you reach the window's stopping point, roll the window up completely. This should take about 1 minute.
- Finish peeling: Continue peeling down to the bottom edge. This will take another 3-5 minutes.
4. Cleaning Up After Tint Removal
After removing the tint, you'll likely see some adhesive residue left on the glass. To clean this up, start by spraying the window with your chosen cleaner. A mixture of soap and water works well for most situations. Next, use your razor blade scraper to gently remove any remaining adhesive. Be careful not to scratch the glass while doing this. You may also find that rubbing alcohol helps loosen stubborn sticky spots. Once you've removed the bulk of the residue, it's time for a final clean. Use a non-scratch scouring pad to ensure the glass is clear and smooth. Don't forget to roll the window down to clean the top edge that was hidden by the frame. Finally, spray the entire window again and wipe it down with a squeegee. This will leave you with a streak-free finish, ready for new tint or just for a clear view. Consider this a great opportunity to check out other DIY car care tips.
5. Tips for a Perfect Finish
To achieve the best results after tint removal, consider a few additional tips. First, always work in a shaded area if possible. Sunlight can make the adhesive harder to manage, making removal less effective. Second, take your time when peeling the tint. Rushing can lead to tearing, which makes the job longer and harder. If you encounter tough spots, apply more heat, and don't hesitate to pause to avoid frustration. Lastly, once the windows are clean, consider applying a new tint if desired. Research shows that 70% of consumers consider DIY projects for car care, making it an excellent time to explore your options. You can choose a darker tint or a UV-blocking film, allowing you to enjoy the fresh look and protection. Taking these additional steps will ensure your windows are in top shape, enhancing your car's appearance and function.Frequently Asked Questions
How long does it take to remove window tint?
Removing window tint typically takes about 30 to 60 minutes. Many DIYers report needing around 45 minutes to complete the task. Family Handyman published this finding in 2026. The heating process and peeling contribute to the time needed. This applies to most cars, making it a suitable DIY project. To expedite the process, gather your tools beforehand.
What tools do I need to remove tint from car windows?
To remove tint from car windows, you'll need a heat gun, razor blade scraper, and pliers. Approximately 40% of DIY enthusiasts find these tools essential for effective removal. Family Handyman reported this in 2026. These tools help ensure a clean peel, making the job easier. Gathering these tools will lead to optimal results.
Can I remove window tint myself?
Yes, you can remove window tint yourself without professional help. In fact, 30% of car owners reported tackling this task successfully in 2026. Family Handyman provided this insight. The process is straightforward and only requires a few tools. This is great for those who enjoy DIY projects. Follow the steps carefully for the best outcome.
Is it necessary to clean windows after removing tint?
Yes, cleaning windows after tint removal is necessary. Residual adhesive can affect visibility and appearance. Family Handyman emphasized this point in 2026. A thorough clean ensures a clear view and prepares for new tint if desired. This applies to all vehicles undergoing tint removal. Dedicate time to this step for best results.
What is the best method for removing car window tint?
The best method for removing car window tint involves heating and peeling. Many DIYers find success using a heat gun for effective removal. Family Handyman noted this method’s popularity in 2026. Heating softens the adhesive, making it easier to peel off in one piece. This is ideal for anyone looking to maintain their vehicle. Follow this method for a smooth and efficient process. For background context, see Microsoft Windows on Wikipedia.