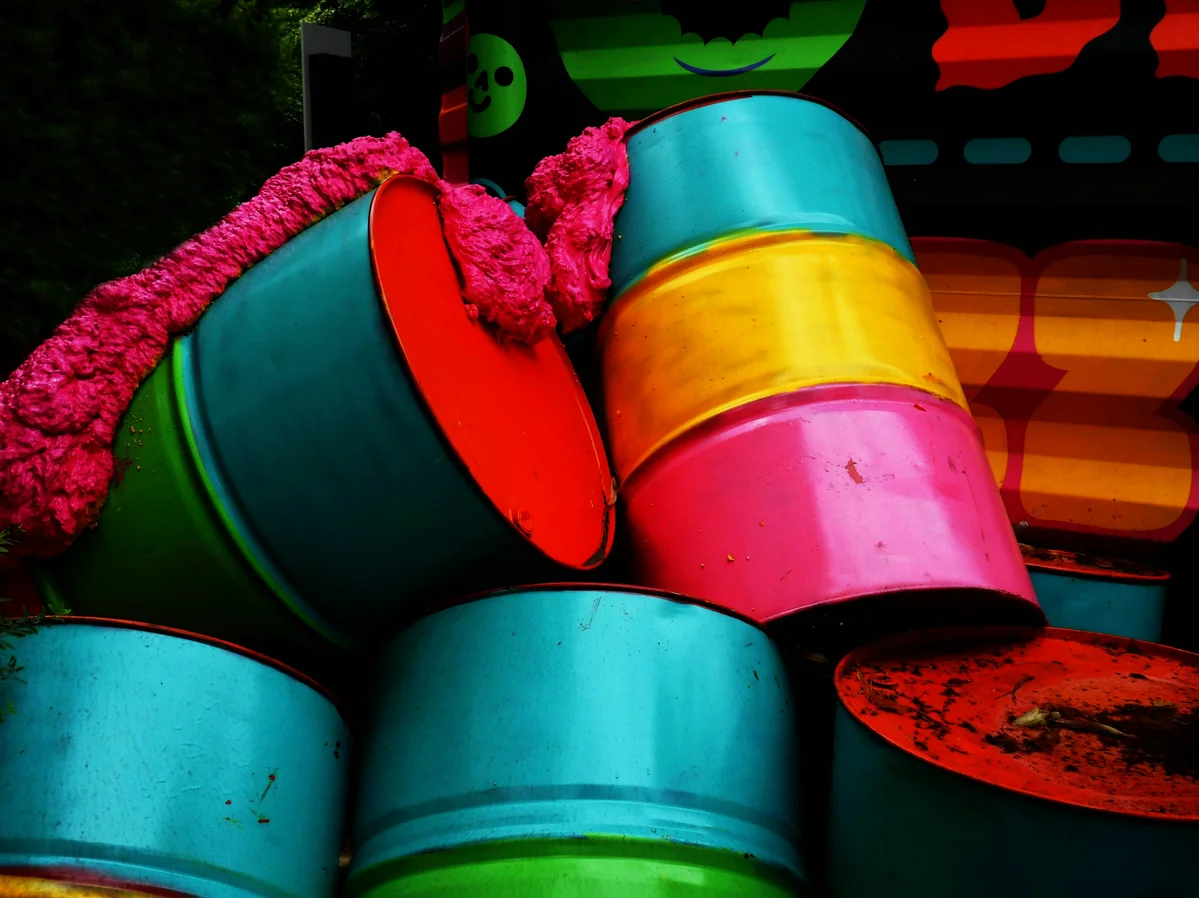
Materials Needed for Bucket Makeover
To turn an old bucket into a cutesy storage solution, you’ll need a few basic materials. Begin with a clean plastic bucket. It can be round or square, depending on your preference. Popular choices include ice cream buckets or small paint buckets. The size of the bucket will determine how much storage space you create. Next, gather your decorative materials. Twine or rope is essential for wrapping the bucket. For a rustic look, consider burlap or patterned fabric to cover the inside and bottom. Hot glue will help secure your materials in place. You can also add embellishments like ribbons, flowers, or metal studs to make it even more unique. Don’t forget tools for cutting and measuring, such as scissors and a ruler. These will help ensure that your decorative covering is uniform and attractive. If you plan to hang or carry the bucket, consider reattaching the handle or replacing it with a sturdy rope. This adds both functionality and charm to your upcycled bucket storage solution. Lastly, make sure to clean the bucket thoroughly before starting. This is especially important if it previously held food. A clean surface ensures that your finished product looks good and lasts longer. With these materials in hand, you’re ready to begin your upcycling project.Step-by-Step Guide to Upcycling Buckets
- Clean the bucket: Wash the bucket thoroughly to remove any residue or dirt. This should take about 10 minutes.
- Cut the bucket (optional): If desired, cut the top rim for a straight edge. This step will take about 5 minutes.
- Measure and cut fabric: Cut the burlap or fabric to fit the bottom and inside of the bucket. Allow 15 minutes for this step.
- Glue fabric inside: Use hot glue to attach the fabric to the bottom and inside of the bucket. This should take around 10 minutes.
- Wrap with twine: Start at the bottom and glue the twine or rope around the bucket, covering the plastic completely. This will take about 20 minutes.
- Add embellishments: Attach any additional decorations, like flowers or ribbons, to personalize your bucket. This final step may take another 15 minutes.
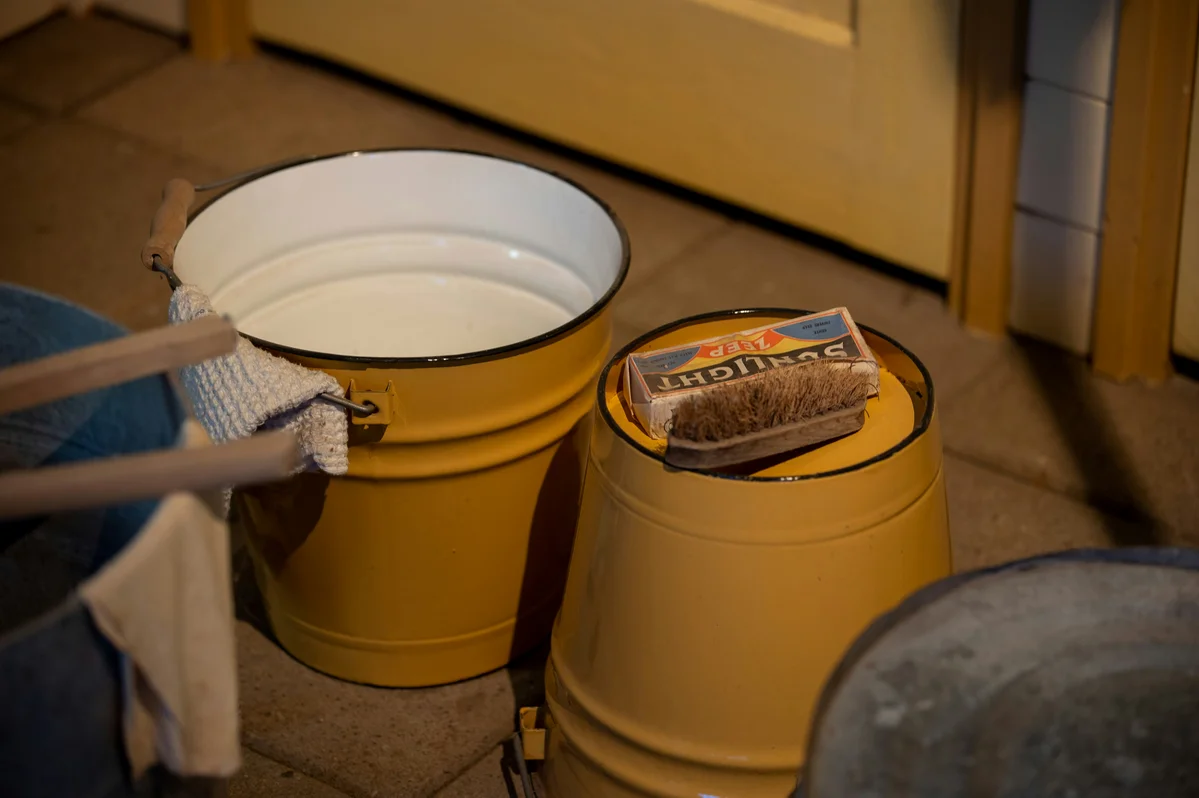
Creative Ideas for Using Upcycled Buckets
Upcycled buckets can serve various purposes around the home. Use them as stylish storage for gardening tools, craft supplies, or even toys. They can also function as decorative planters for small plants or herbs. This brings a fresh touch to your living space. Pro Tip: Upcycling an old bucket can save you money while reducing household waste by up to 30%, according to the EPA (2025). Another creative idea is to use the buckets for themed storage. For instance, paint or decorate buckets for each season or holiday. This adds charm to your decor and keeps your seasonal items organized. You can easily switch out the buckets as needed. This makes it a versatile storage solution. Consider using upcycled buckets as gift containers. Fill them with goodies or small items for a unique and thoughtful gift. The recipient will appreciate the effort and originality behind this personalized gift idea. With so many chances, your upcycled bucket storage solution can be both functional and fun.Tips for Decorating Your New Storage
Decorating your upcycled bucket can enhance its charm and functionality. Begin by choosing a color scheme that matches your home decor. This creates a cohesive look while ensuring your new storage solution blends with your existing items. Next, consider adding patterns to your buckets. Use fabric with fun designs, or paint creative patterns directly on the bucket. Stencils can help create uniform shapes and letters. This step allows for customizing, making your bucket truly one-of-a-kind. Another idea is to incorporate labels. Label each bucket for its contents to make organization easier. You can use chalkboard paint, stickers, or tags for this purpose. This adds a stylish touch and helps everyone in the household know where to find items. Lastly, don’t hesitate to mix and match your upcycled buckets. Use different sizes and styles to create a visually interesting arrangement. Group them together for a fun display, or use them in various rooms for consistent style throughout your home. With these tips, your upcycled bucket storage solution will be both cute and practical.
Benefits of Upcycling in Home Decor
Upcycling offers numerous benefits for home decor. First, it promotes sustainability by reducing waste. Upcycling can cut down on household waste by 30% (EPA, 2025). This makes it an eco-friendly choice. By repurposing items like old buckets, you contribute to a healthier planet. Upcycling encourages originality. It allows you to express your style and preferences through your projects. Each upcycled item tells a unique story and reflects your personality. This makes your home feel more inviting and personal. DIY projects can save money. Instead of buying new storage solutions, you can create functional and stylish options from materials you already have. This saves cash and offers a sense of accomplishment. You see your original ideas come to life. Upcycling can improve your living space's organization. By creating attractive storage options, you can declutter and enhance your home’s aesthetics. With cutesy upcycled bucket storage solutions, you can enjoy a tidy and visually appealing place.Frequently Asked Questions
How can I upcycle an old bucket for storage?
Upcycling an old bucket for storage involves covering it with decorative materials. In 2026, over 60% of households prefer DIY projects, according to Home Improvement Magazine. This trend shows that many people enjoy creative home solutions. Using an old bucket allows you to create something unique and functional. This applies to anyone looking to declutter their space. Clean the bucket and gather your materials.
What materials do I need to upcycle a bucket?
To upcycle a bucket, you'll need a clean plastic bucket and decorative materials. The EPA estimated that upcycling can reduce waste by 30% in 2025. This means using what you have can significantly impact the environment. This approach suits anyone interested in eco-friendly projects. Gather items like twine, fabric, hot glue, and embellishments to get started.
Can upcycled buckets be used for outdoor storage?
Yes, upcycled buckets can be effectively used for outdoor storage. In 2026, DIY projects increase home organization satisfaction by 40%, as reported by Home Decor Trends. This applies particularly to outdoor spaces where organization is key. Using buckets can help keep gardening tools or toys tidy. Consider using weather-resistant materials for outdoor bucket projects. This ensures durability against the elements.
Why is upcycling beneficial for home projects?
Upcycling is beneficial because it promotes sustainability and creativity. The EPA reports that upcycling can reduce waste by 30%, which is significant. This reduction helps the environment by minimizing trash. This approach is ideal for anyone wanting to make a positive impact. Look for items around your home that can be repurposed.
How long does it take to create an upcycled bucket storage solution?
Creating an upcycled bucket storage solution usually takes about one to two hours. DIY Home decor estimates that most projects can be completed in a short timeframe. This makes it an accessible option for busy individuals. The time commitment appeals to those seeking quick and easy home improvements. Gather your materials ahead of time to streamline the process. This ensures a smooth crafting experience. For background context, see Hydrogen peroxide contact solution on Wikipedia.